Microcontroller-controlled photoelectric sensor:What is a microcontroller-controlled photoelectric sensor and how does it work?
Q: What is a microcontroller-controlled photoelectric sensor and how does it work?
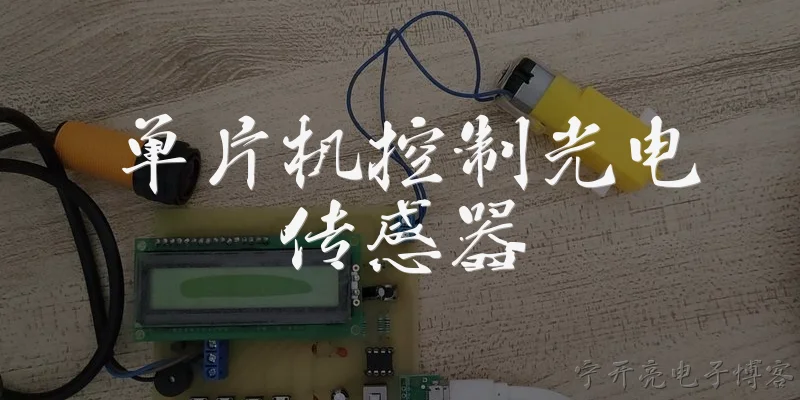
A: A microcontroller-controlled photoelectric sensor is an advanced sensing device that combines a photoelectric sensor with a microcontroller unit (MCU) to enhance detection accuracy, flexibility, and functionality. The photoelectric sensor itself operates by emitting a light beam—often infrared or laser—and detecting changes in the reflected or interrupted light to sense objects. The microcontroller adds intelligence by processing the sensor's analog or digital signals. It can filter noise, calibrate thresholds dynamically, and make logic-based decisions. For example, the MCU can distinguish between a real target and environmental interference like dust or ambient light. It also enables features such as adjustable sensitivity, timing functions (on-delay, off-delay), and communication interfaces like UART, I2C, or Modbus. In operation, the photoelectric element generates a signal proportional to light intensity. The MCU samples this signal via an ADC, applies algorithms, and drives an output (e.g., relay or transistor) when a condition is met. This integration makes the sensor more reliable and adaptable for automation, robotics, and IoT applications, where precise, programmable object detection is critical.
Q: What are the key advantages of using a microcontroller in a photoelectric sensor?
A: Integrating a microcontroller into a photoelectric sensor offers several significant advantages over traditional analog or fixed-threshold sensors. First, it provides advanced signal processing capabilities, such as digital filtering and ambient light compensation, which reduce false triggers and improve detection reliability in challenging environments. Second, the microcontroller enables dynamic calibration—the sensor can automatically adjust its threshold based on changing conditions, like gradual lens contamination or temperature drift, without manual intervention. Third, it supports programmable logic and timing functions, allowing users to set custom delays, hysteresis, or output modes (e.g., normally open/closed, one-shot, or toggle) via software rather than hardware changes. Fourth, the MCU facilitates communication interfaces (e.g., I2C, UART, or industrial protocols), enabling integration into smart systems for remote monitoring, diagnostics, and parameter adjustment. Fifth, it allows for multi-sensor fusion or complex algorithms, such as background suppression or distance measurement, using the same hardware. Finally, the microcontroller can implement self-diagnostics and error reporting, enhancing maintenance and uptime. These features make microcontroller-controlled photoelectric sensors more versatile, accurate, and adaptable for modern automation, robotics, and IoT applications compared to their non-intelligent counterparts.
Q: In what applications are microcontroller-controlled photoelectric sensors most commonly used?
A: Microcontroller-controlled photoelectric sensors are widely used in applications that demand high precision, adaptability, and integration with digital systems. In industrial automation, they are essential for object detection on conveyor belts, where the MCU can filter out vibrations and detect small or transparent items reliably. They are also used in packaging machines for label detection, fill-level monitoring, and counting products at high speeds. In robotics, these sensors help with obstacle avoidance, edge detection, and precise positioning, thanks to their programmable thresholds and fast response times. Automotive manufacturing employs them for presence/absence checks, gap measurement, and robot guidance, often communicating over CAN or Ethernet. In the Internet of Things (IoT), they serve as smart edge devices for occupancy sensing, security alarms, and automatic lighting, with the MCU enabling wireless connectivity and cloud data logging. Additionally, they are found in medical devices for fluid level sensing, in consumer electronics for touchless interfaces, and in agricultural machinery for seed counting or crop monitoring. Their ability to self-calibrate, communicate, and perform logic makes them ideal for any scenario where reliable, intelligent photoelectric detection is needed, especially in harsh or variable environments.
Words of experience
Common scenarios of "Microcontroller-controlled photoelectric sensor"
【Student】 Hello, Professor. I'm working on a project that involves a photoelectric sensor controlled by a microcontroller. Could you explain what exactly a photoelectric sensor does?
【Professor】 Certainly! A photoelectric sensor is a device that detects objects or changes in light intensity using a light transmitter and receiver. It converts light into an electrical signal. Common types include through-beam, retro-reflective, and diffuse-reflective sensors.
【Student】 That makes sense. How does a microcontroller interface with such a sensor?
【Professor】 The microcontroller reads the sensor's output, which is typically a digital or analog signal. For digital sensors, the output might be high or low depending on whether an object is detected. The microcontroller can then take actions based on that signal, like turning on a motor or sending an alert.
【Student】 So if I have a digital output sensor, I can connect it directly to a GPIO pin?
【Professor】 Yes, but you need to consider voltage levels. Many sensors operate at 5V or 12V, while microcontrollers like Arduino use 5V or 3.3V. You might need a voltage divider or level shifter to avoid damaging the microcontroller.
【Student】 Good point. What about analog sensors? How would I read those?
【Professor】 Analog sensors output a voltage proportional to the light intensity. You connect them to an ADC pin on the microcontroller. The microcontroller converts the analog voltage to a digital value that you can process in your code.
【Student】 I see. Can you give an example of how to code the reading of a digital sensor?
【Professor】 Sure. For Arduino, you would set the sensor pin as input, then use digitalRead() to get the value. For example: int sensorPin = 2; void setup() { pinMode(sensorPin, INPUT); Serial.begin(9600); } void loop() { int sensorValue = digitalRead(sensorPin); Serial.println(sensorValue); delay(100); }
【Student】 That's simple enough. What about debouncing or noise issues?
【Professor】 Good question. Photoelectric sensors can be affected by ambient light or electrical noise. You can add hysteresis in software or use a capacitor for hardware debouncing. Also, ensure proper shielding and grounding.
【Student】 What are some common applications of microcontroller-controlled photoelectric sensors?
【Professor】 They are used in automation for object counting, position detection, safety barriers, and sorting systems. For example, in a conveyor belt, a photoelectric sensor can detect when an item passes and trigger a microcontroller to count it or divert it.
【Student】 Could I also use it for proximity sensing?
【Professor】 Yes, diffuse-reflective sensors can detect objects at close range without a reflector. They are often used for proximity sensing. Just be aware of the sensing distance and the material of the object, as reflectivity can vary.
【Student】 How do I choose the right sensor for my project?
【Professor】 Consider factors like sensing range, object size, material, environmental conditions (dust, moisture), output type (NPN/PNP, analog), and response time. Also check compatibility with your microcontroller's voltage.
【Student】 What about power consumption? I'm planning a battery-operated device.
【Professor】 Look for low-power sensors and use sleep modes on the microcontroller. You can also power the sensor only when needed using a transistor or MOSFET controlled by the microcontroller.
【Student】 Thank you, Professor. This has been very helpful. I'll start prototyping with a simple digital sensor and then explore analog options if needed.